

284 palabras
1 minuto
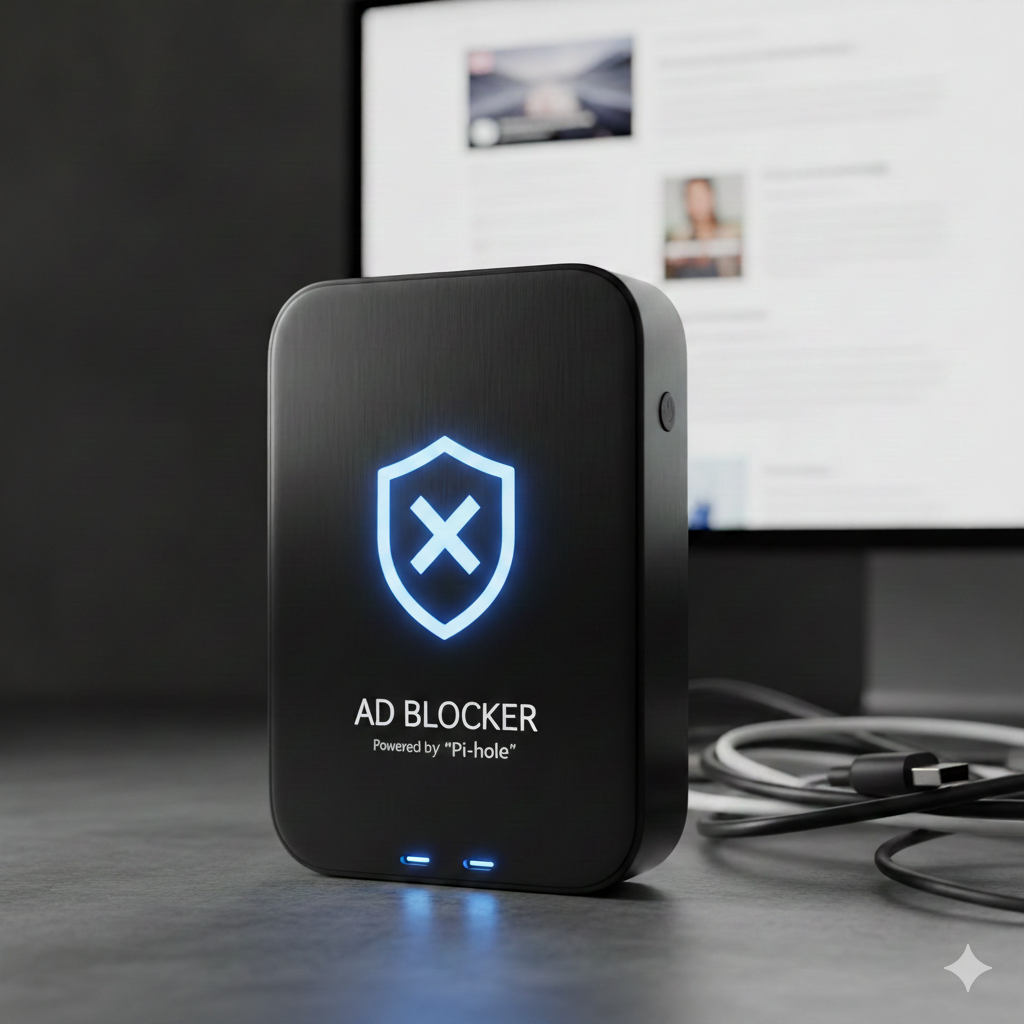
Pi-hole
Enlaces
Uso en Docker
Añade el siguiente archivo
ENV
.env
# Configuración de Red y TiempoPIHOLE_TZ=America/Mexico_City
# SeguridadPIHOLE_PASSWORD=tu_pass
# Configuración FTLPIHOLE_DNS_MODE=ALL
# Logs de DockerLOG_MAX_SIZE=10mLOG_MAX_FILES=3Docker compose
docker-compose.yml
# More info at https://github.com/pi-hole/docker-pi-hole/ and https://docs.pi-hole.net/services: pihole: container_name: pihole image: pihole/pihole:latest dns: - 1.1.1.1 - 8.8.8.8 ports: - "53:53/tcp" - "53:53/udp" - "80:80/tcp" - "443:443/tcp" #- "67:67/udp" #- "123:123/udp" environment: TZ: '${PIHOLE_TZ}' FTLCONF_webserver_api_password: '${PIHOLE_PASSWORD}' FTLCONF_dns_listeningMode: '${PIHOLE_DNS_MODE}' volumes: - './etc-pihole:/etc/pihole' - '/etc/localtime:/etc/localtime:ro' - '/etc/timezone:/etc/timezone:ro' cap_add: - NET_ADMIN - SYS_NICE logging: driver: "json-file" options: max-size: "${LOG_MAX_SIZE}" max-file: "${LOG_MAX_FILES}" restart: unless-stoppedActivarlo
docker compose up -dDesactivarlo
docker compose downHaz que tu router resuelva hacia tu pi-hole
- Entra a tu Router: Abre tu navegador y ve a http://192.168.0.1 (o la IP de tu TP-Link).
- Inicia Sesión: Introduce tu contraseña de administrador.
- Ve a la pestaña Advanced: En el menú superior.
- Navega a Network > DHCP Server: En la barra lateral izquierda.
- Configura el DNS:
- Busca los campos Primary DNS y Secondary DNS.
- En Primary DNS, escribe la IP estática de tu Raspberry Pi.
- En Secondary DNS, déjalo en 0.0.0.0 (o vacío). No pongas el de Google (8.8.8.8) aquí, porque si lo haces, los dispositivos podrían saltarse el Pi-hole.
- Guarda los cambios: Haz clic en Save.
- Reinicia tu router o vuelve a conectar tus dispositivos
Nota:
- Pon la IP de tu Raspberry Pi en ambos campos (Primario y Secundario).
- Según Gemini: Jamás pongas un DNS público (como 1.1.1.1) como secundario en el router, porque los sistemas operativos modernos suelen rotar entre ellos y terminarás viendo anuncios el 50% del tiempo.
Nota final¡Gracias por terminar de leer este artículo! uwur
— El Capitán
¿Tienes alguna duda o te gustaría comentar algo sobre este artículo?
Puedes encontrarme en: